TB 9-5210-207-24
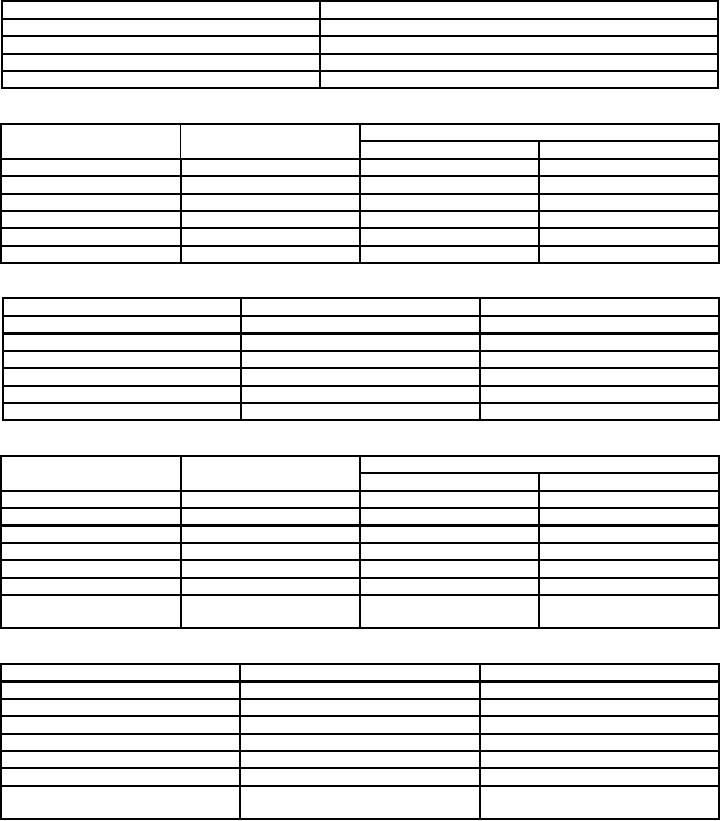
Table 6. Inside Micrometer, Rod and Sleeve (Metric Measure) Permissible Error - Millimeters
Length ( )
Range
25 to 50
0.0075
50 to 200
0.010
50 to 300
0.0125
200 to 800 or 900
0.025
Table 7. Inside Micrometer, Tubular, Interchangeable Head (English Measure) Permissible Error - Inches
Length ( )
Movement of
0.001 Graduations
0.0001 Graduations
Range
head
11/2 to 8
1/2
0.0005
0.0005
1/ to 12
1/
1 2
0.0005
0.0005
2
4 to 24
1
0.001
0.0007
4 to 32
1
0.001
0.0009
4 to 42
1
0.001
0.001
1/ to 32 (two heads)
1/ and 1
1 2
0.001
0.0015
2
Table 8. Inside Micrometer, Tubular, Interchangeable Head (Metric Measure) Permissible Error - Millimeters
Length ( )
Range
Movement of head
40 to 200
13
0.012
40 to 300
13
0.012
100 to 600
25
0.018
100 to 800
25
0.022
100 to 1000
25
0.022
40 to 800 (two heads)
13 and 25
0.035
Table 9. Inside Micrometer, Tubular, Fixed Head (English Measure) Permissible Error - Inches
Length ( )
Movement of
Range
head
0.001 Graduations
0.0001 Graduations
1/
2 to 21/2
0.0005
0.0003
2
1/2 to 3
1/2
2
0.0005
0.0003
1/
1/
0.0005
0.0003
3 to 3 2
2
31/2 to 4
1/
0.0005
0.0003
2
1/
1/2
0.0005
0.0003
4 to 4
2
1/ to 5
1/
4 2
0.0005
0.0003
2
1/2
0.0005
0.0003
5 to 12
(in inch increments)
Table 10. Inside Micrometer, Tubular, Fixed Head (Metric Measure) Permissible Error - Millimeters
Length ( )
Range
Movement of head
50 to 63
13
0.007
63 to 75
13
0.007
75 to 88
13
0.007
88 to 100
13
0.007
100 to 113
13
0.007
113 to 125
13
0.007
125 to 300
25
0.010
(in 25mm increments)
b. Adjustments. Adjust contact points on each extension rod as required, for zero
indication, when fit is the same as when zero setting micrometer head.
9

