TB 9-5220-216-24
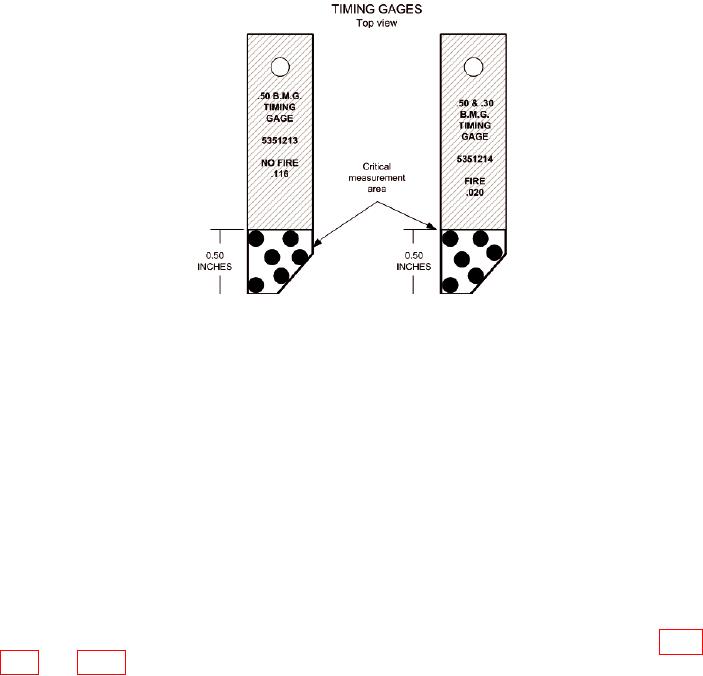
Figure 3. 13047989 Timing Gages.
a. To achieve temperature stabilization, allow TI to normalize in same environment as
standard for a minimum of 4 hours prior to calibration.
b. On the DA Form 3023, verify that the drawing number and gage revision are current
and the identification number matches the gage set.
c. Gloves will be worn when handling the clean TI. Wipe the TI with a soft cloth
(deburring stone may be used) to clean off any burrs taking care not to damage the finish.
Clean surface of TI using denatured alcohol (or other solvent) and soft cloth, wipe dry, and
place on cloth. TI must be free of dirt, dust, oil coating or any foreign material. If excessive
cleaning or deburring was preformed an additional hour to stabilize is needed.
d. Visually inspect TI for seams, cracks, nicks, burrs, scratches, breaks, bends, rust,
pitting, excessive wear, or other forms of irregularity that could affect the dimensional
tolerances.
e. Verify that the correct information is stamped in the correct areas on each TI, (fig. 1,
f. Clean anvil and spindle on standard removing dirt, oil, or any foreign material.
g. Zero the standard. Repeat zero throughout the procedure as necessary.
h. To confirm readability of standard, measure a calibrated gage block in the
approximate size range of TI (0.200 inches recommended) in 4 different sections of the gage
block. Readings must also be repeatable. The standard should read the same as the
nominal indication on the gage block within the resolution and accuracy of the standard
(0.0001 inches).
5

