TB 9-6625-102-24
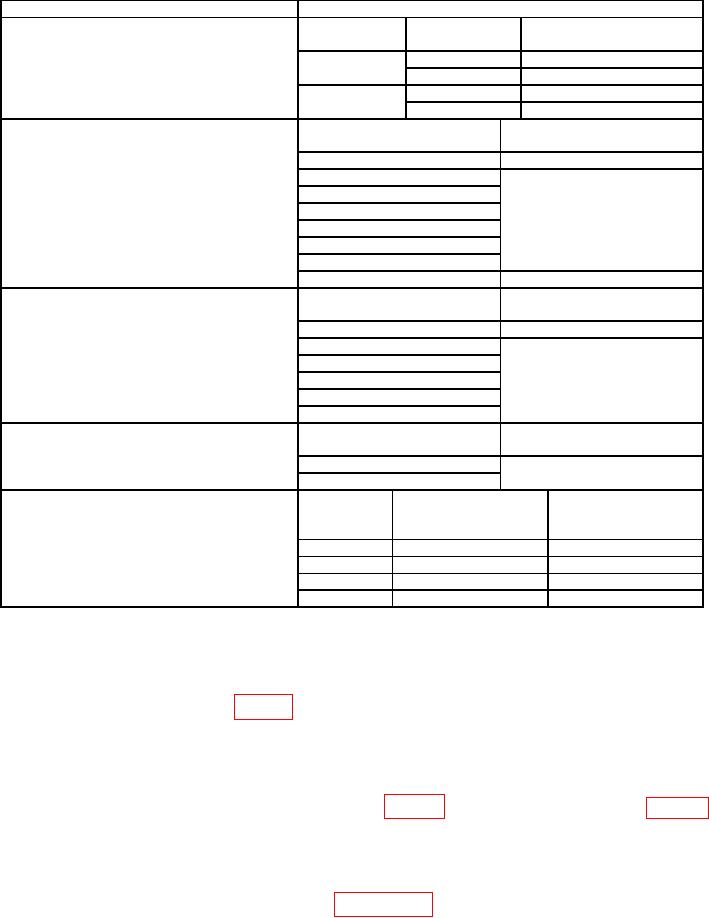
Table 1. Calibration Description Continued.
Test instrument parameters
Performance specifications
Temperature
Thermocouple
Accuracy
Range
Type
(% Reading +Counts)
-200 1372 C
0.3 % +3C
K
-328 2502 F
0.3 % +6F
-210 1200 C
0.3 % +3C
J
-346 2192 F
0.3 % +6F
Accuracy
Range
(% Reading +Offset Error)
10 nF
1 %+8
100 nF
1000 nF
10 F
1 %+5
100 F
1000 F
10 mF
100 mF
3 %+10
Frequency Divide 1
Accuracy
Range
(% Reading +Counts)
99.999 Hz
0.02%+3
999.99 Hz
9.9999 kHz
0.002 %+5
99.999 kHz
<2 MHz
999.99 kHz
9.9999 MHz
Frequency Divide 100
Accuracy
Range
(% Reading +Counts)
9.9999 MHz
0.002 %+5
<20 MHz
99.99 MHz
Square Wave Output
Accuracy
Range
(% Reading
+Counts)
Frequency
0.5 4800 Hz
0.005% +2
Duty Cycle
0.39% 99.60%
0.4% of Full Scale
Pulse Width
1/Frequency
0.2 ms + Range/256
Amplitude
Fixed 0 to 2.8 V
0.2 V
EQUIPMENT REQUIREMENTS
calibration procedure. This equipment is issued with Secondary Transfer Calibration
Standards Set AN/GSM-286; AN/GSM-287; or AN/GSM-440. Alternate items may be used
by the calibrating activity. The items selected must be verified to perform satisfactorily
prior to use and must bear evidence of current calibration. The equipment must meet or
provide a four-to-one ratio between the standard and TI. Where the four-to-one ratio
cannot be met, the actual accuracy of the equipment selected is shown in parentheses.
5. Accessories Required. The accessories required for this calibration are common
usage accessories, issued as indicated in paragraph 4 above, and are not listed in this
calibration procedure.

