TB 9-6685-316-50
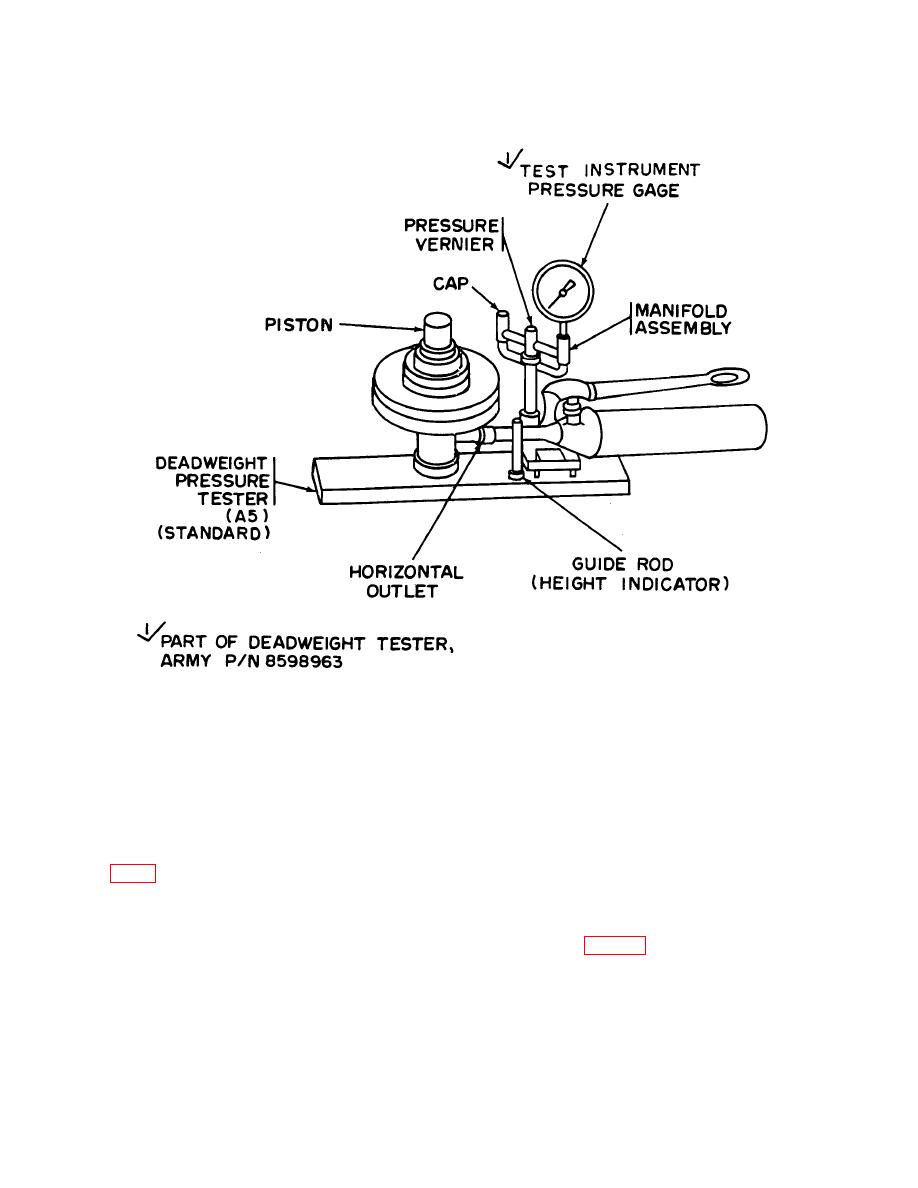
(2) Place four of the 5-psi weights on the piston to obtain a nominal pressure of
25 psi. Use weight calibration specified in the Report of Calibration furnished with the
standard.
(3) Determine pressure developed value from the Report of Calibration
furnished with the standard and apply pressure to equipment setup, manually rotating
weights clockwise until bottom surface of weight table is 1/4 inch above cylinder
(balanced and floating). If necessary, obtain exact balance using pressure vernier valve
(4) Tap face of gage lightly. If gage does not indicate Pressure developed by
weight combination from the Report of Calibration 0.4 psi, perform b below.
(5) Repeat (2) through (4) above for values listed in table 7. If TI pressure gage
does not indicate a value equal to the Pressure Developed value from the Report of
Calibration for each weight combination and within each tolerance indicated, perform b
below.
11


